Page
1 Page
2 Page
3 Page
4 Page
5 Page
6 Page
7 Page
8 Page
9 |
||
After
a very short stint in HO, I realized that the smaller cars are
harder on the eyes than I at first liked to admit. Well, at least
I can say I tried the routed oval HO track and enjoyed it. But,
truth be told, it was too short being only 4x8 feet. It needed
to be some 12 feet long at least to make it worthwhile. The nice
thing was that it allowed me a reason to tear down my 1/32 track
and make some more room. There were a lot of little things wrong
with my last track that I always wanted to fix but in some cases
it was impossible to do so... Here's my newest plan - more agressive
than my last track and smoother too: As you can see, I pencilled it out on the track while my HO track was up. I also collected a bunch of original Aurora Model Motorng (HO) track. By far, the smoothest track out there and it offers radii from 6-inch to 15-inch. Highly recommended. And as I like to say, it ain't goning to get less expensive as time goes. It will only go up in value. But let's get back to 1/32!
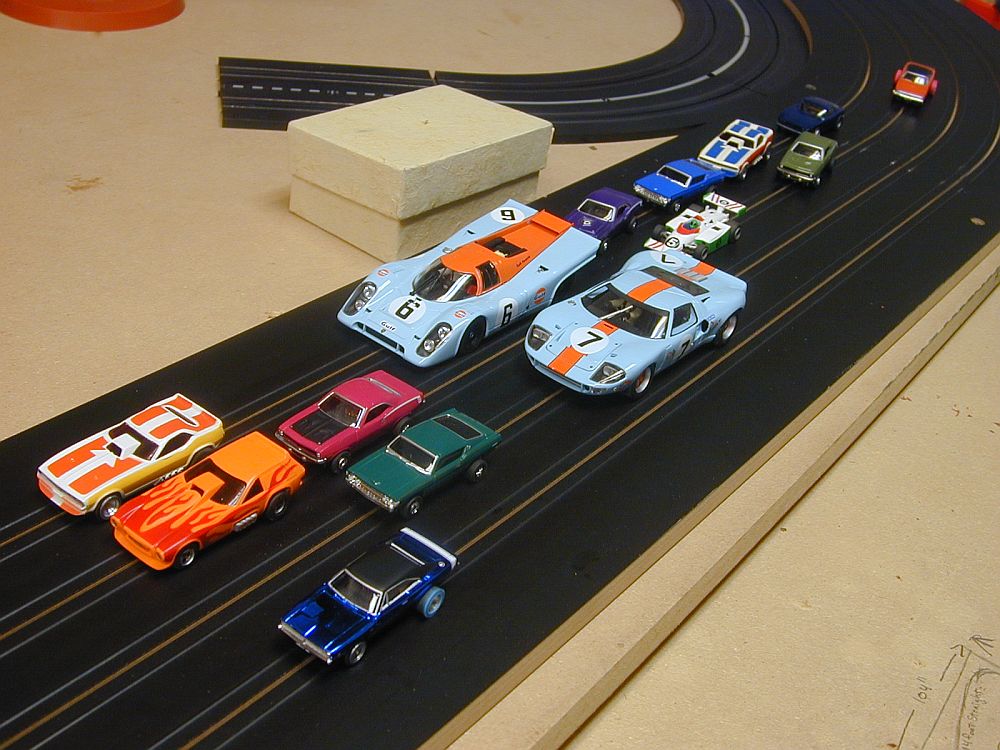
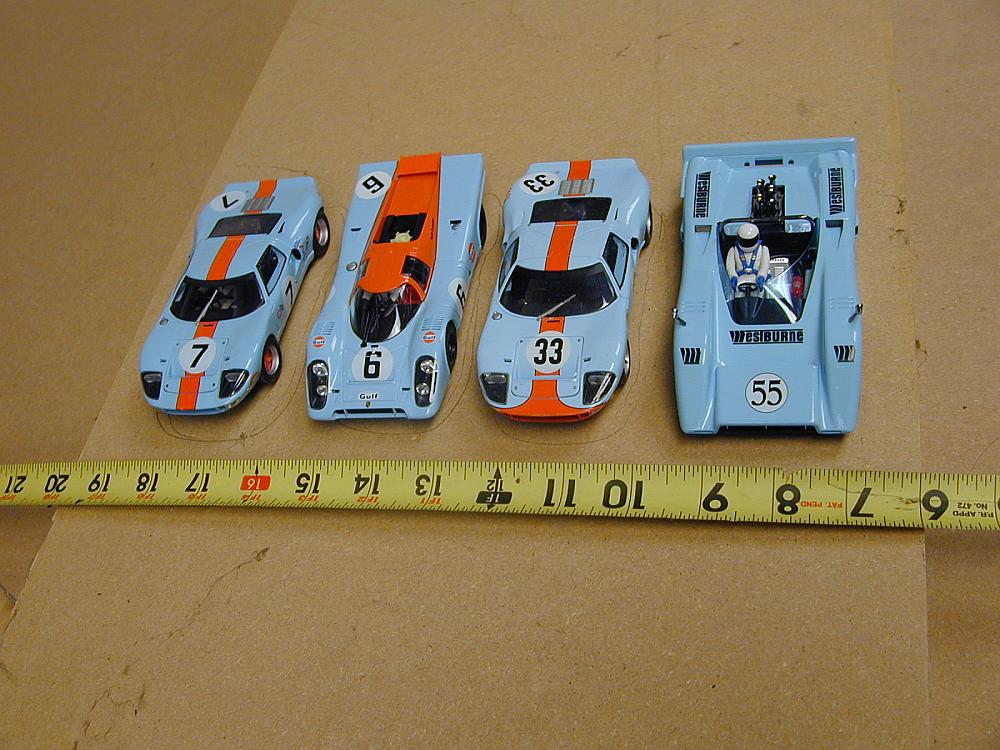
As you can see, I was itching to get back to 1/32!
Experimenting with lane widths. I will be varying the track from 1-inch lane spacings in the hairpin to 3.25inch over the plexiglass bridge (yes, a clear acrylic bridge), and 3 inches in other areas. And it's going to be 4 lanes! Oh yeah.
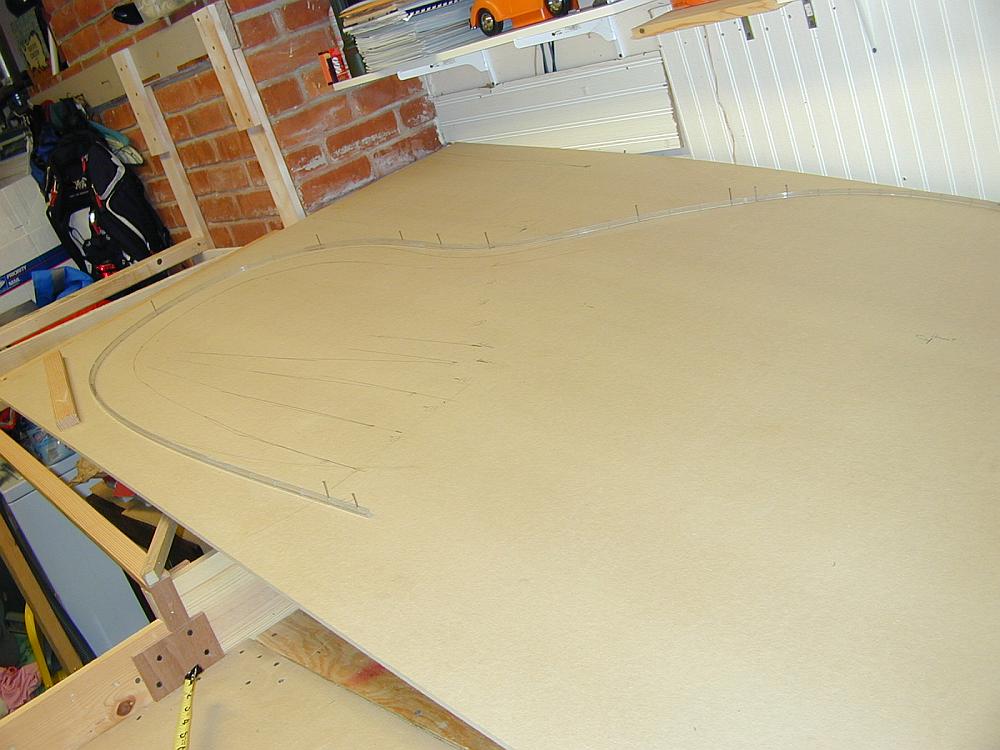
Don't worry, I won't be using that 3/4 MDF - way too heavy and thick. I will be using 3/8ths MDF - $22 a sheet from a cabinet making shop. You won't find it at the usual big box stores. I was also experimenting with the bracing - I tore this all down and moved the filing cabinets in the end.
Below you can see the hairpin that goes at the highest point of the track. Lane spacing is 1-inch. The lines for the 90-degree turn are merely ideas...
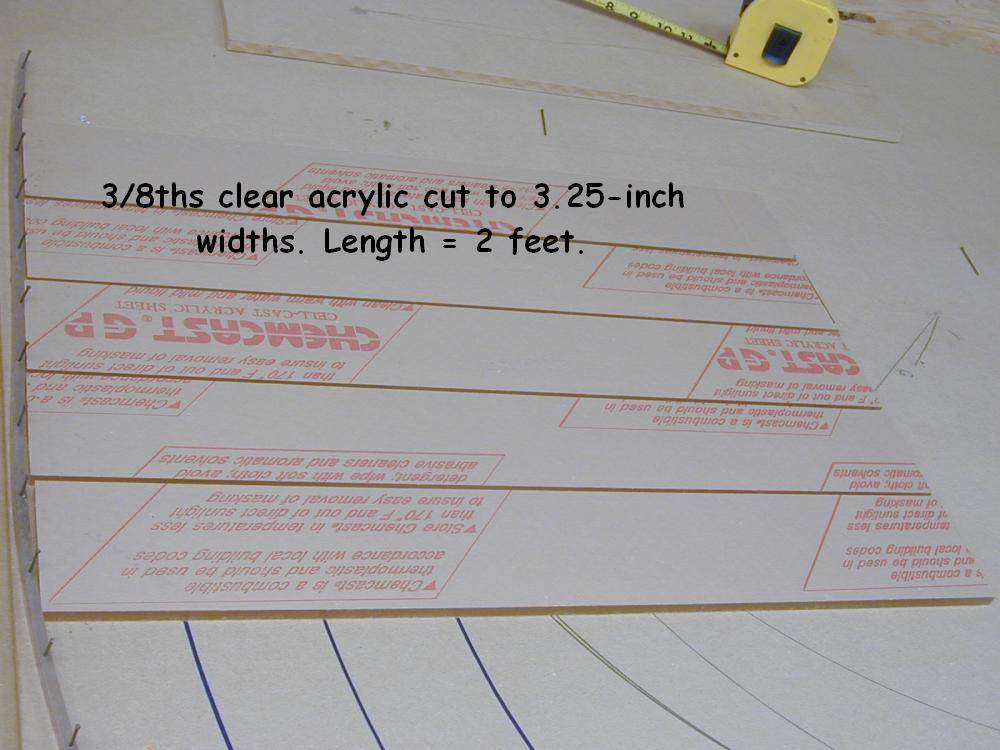
Boy, this is fun! That acrylic bridge cost $56 for a 2-foot square piece. I discovered if I place the acrylic lengths 1/8ths of an inch apart, then I can use them as they are - just need a single countersunk hole on each end to attach them and then run copper foil and voila!
|
Page
1 Page
2 Page
3 Page
4 Page
5 Page
6 Page
7 Page
8 Page
9
Page
10 Page
11 Page
12 Page
13 Page
14 Page
15 Page
16 Page
17 Page
18
Page
19 Page
20 Page
21 Page
22 Night
Driving (23) Making
Tires (24) Brass
Chassis (25)
Switching Scales (26) Routed
HO (27) Rails
Installed (28) Oval
Action (29)
New
1/32 Beginning (30) Construction
(31) Routing
(32) Painting
and Taping
(33) Power Taps
and Timing
(34)
Up and Running (35) Scenery
(36) More Slot
Racing (37)
Once you try it, you'll be hooked!
All Images Copyright Michael Nyberg
2009
All Rights Reserved
Visit: www.outriggercanoe.com