Page
1 Page
2 Page
3 Page
4 Page
5 Page
6 Page
7 Page
8 Page
9 |
||
Construction
continues. I recall from my last track years ago how I made mistakes
without realizing it until the cars were running on the track.
Now, I hope, I know better. I am designing this track with smooth
flow in mind and also competitive side-by-side racing (hopefully
with headlights!!). So, with that in mind, I am trying my best,
working alone, to figure it all out...again. Below you see the
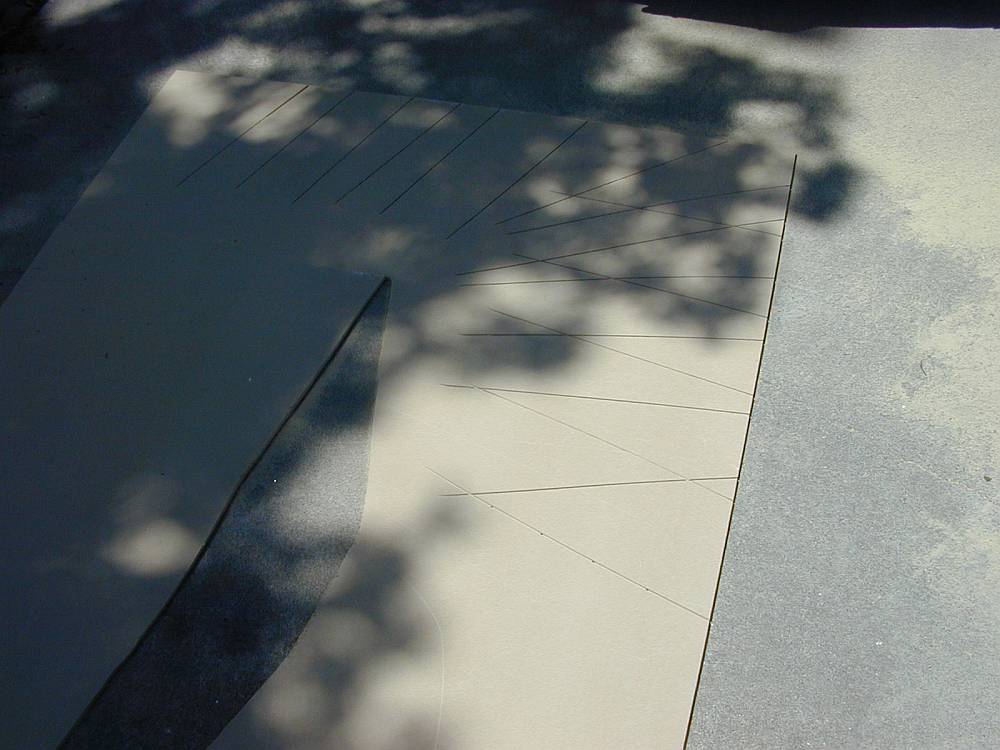
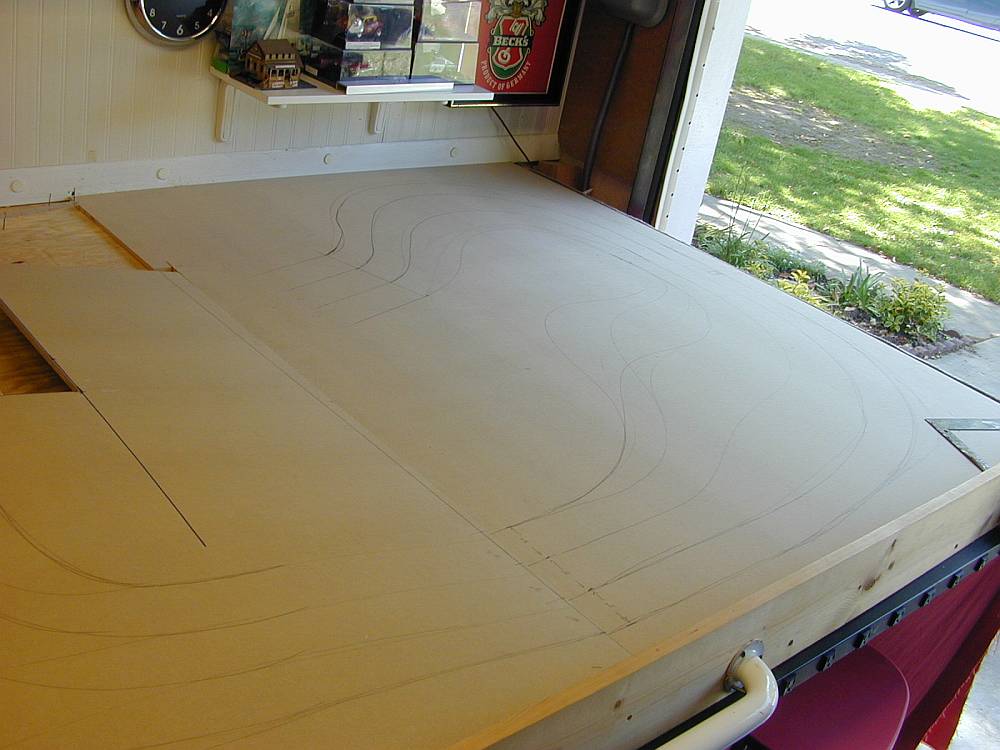
downhill 90-degree turn. Ironically, none of the blue or red lines
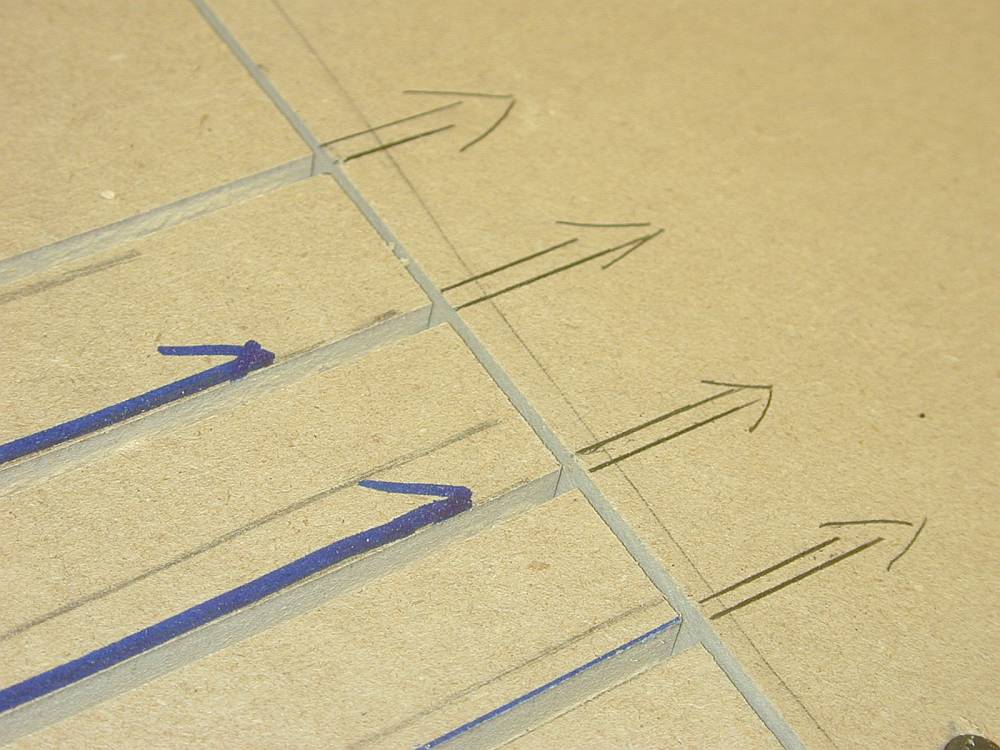
were the ones I used. Measure 3 times, cut once I say. This gives you an idea of back cutting the mdf...you want to cut less than 1/4 of an inch of the back with a hand saw. I like my skill saw for this. You need about double or triple the number of lines showing here to get some true flex/bend. You can also cut on the other axis too. It all depends on how you want it to bend. MDF is great stuff for slot car tracks. And now you see why you need to use 3/8ths. Anything thicker will not bend, even with crazy backcutting.
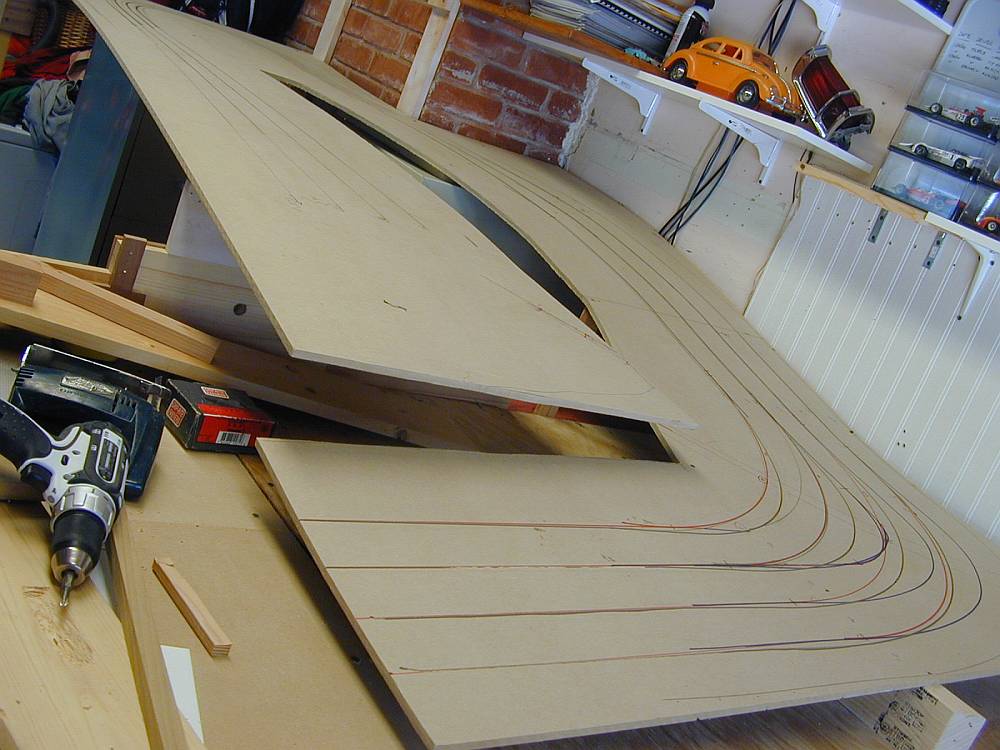
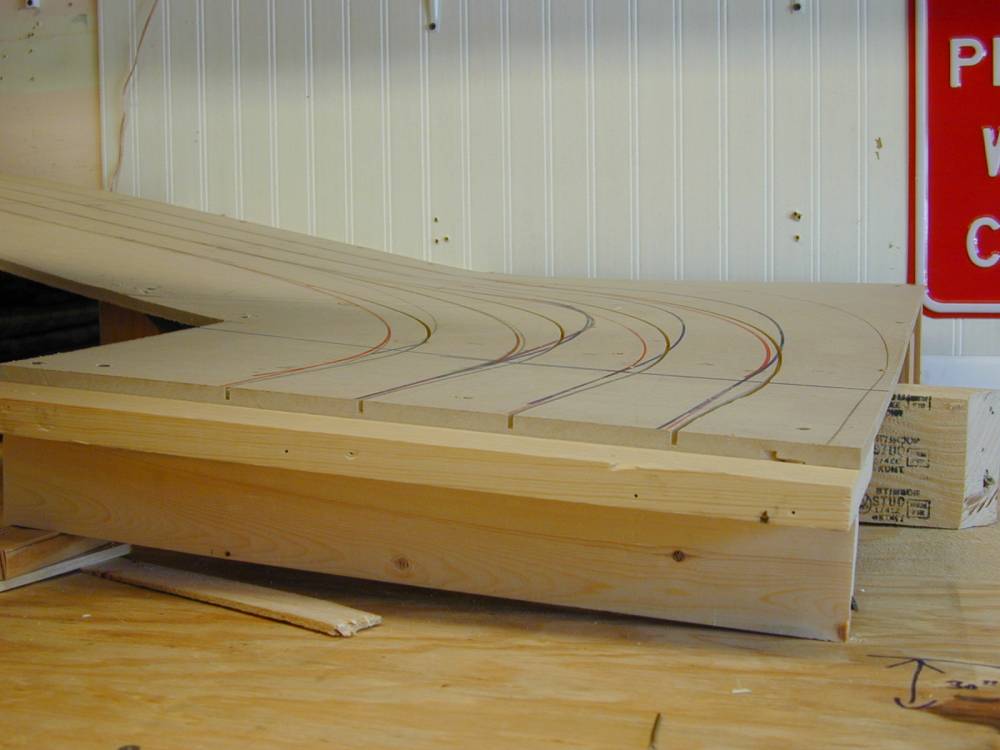
This one gives you an idea of my long 14-foot straight that will go over the top of the course. And this is the reason for the 2-foot long acrylic bridge...
Here the cars will be trying to control their speed on the downhill - assuming a clockwise run through the hairpin at the top!.
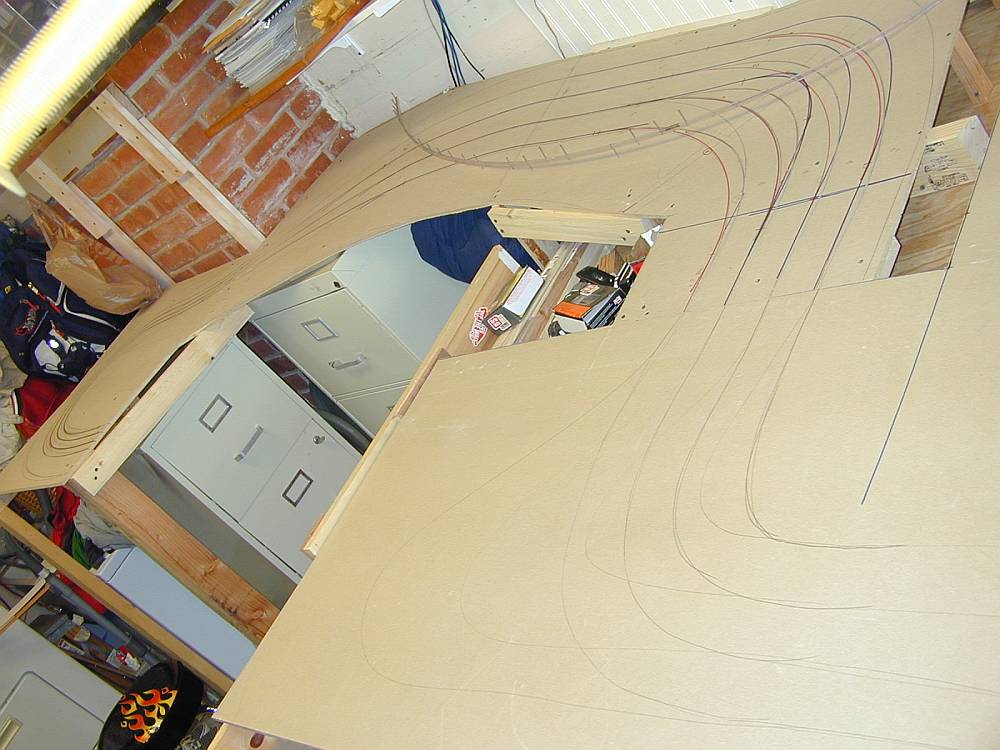
Here's where my decision lays: It's a 4-lane course and I am contemplating adding some "sine waves" to the outerlanes so as to equalize them. I realize this may be something to address once I tape it up but I would love to get it right the first time out. Decisions, decisions....
Again, here I am trying to determine if I need to add some length to the inside lane to slow them down to allow the other cars to make up the extra distance they must travel.
The hairpin lanes are 1-inch apart before they peel off over the bridge - about a 14 foot run...
Now you can see why I want the acrylic bridge - to see the cars peeling through the hill! I plan to light it up with LED lights shining INTO the bridge deck on each side. Should be great!
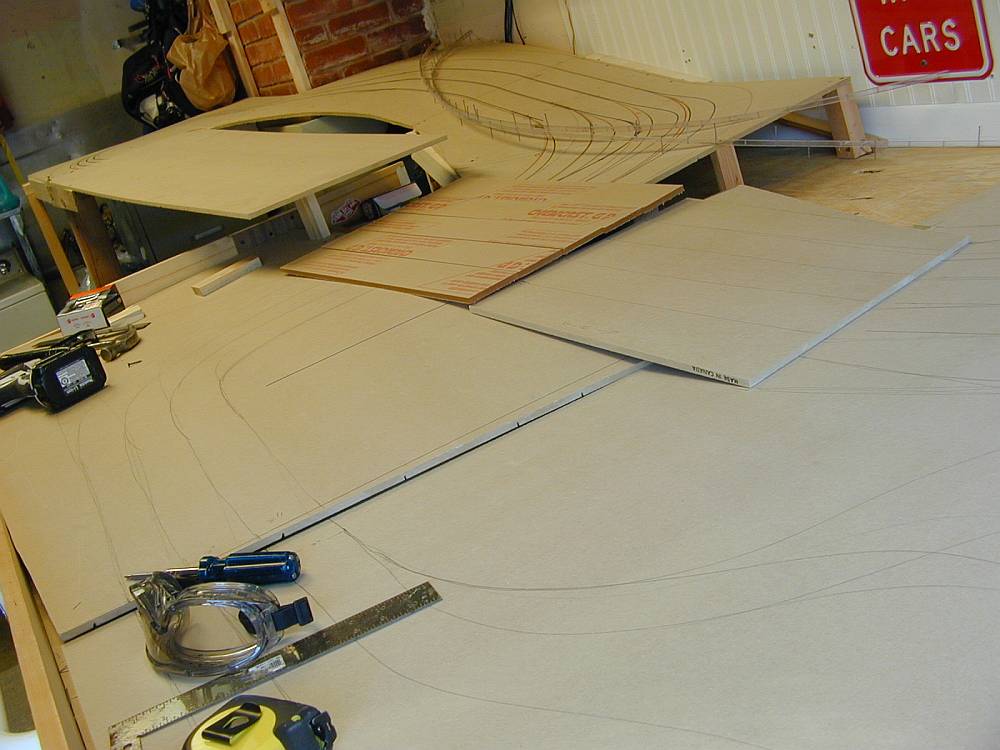
While it does not look like a lot of work was accomplished, much was figured out. All the MDF was cut and once I determine the final route of the slots, I will unscrew the relevant sections and router them on a flat surface.
|
Page
1 Page
2 Page
3 Page
4 Page
5 Page
6 Page
7 Page
8 Page
9
Page
10 Page
11 Page
12 Page
13 Page
14 Page
15 Page
16 Page
17 Page
18
Page
19 Page
20 Page
21 Page
22 Night
Driving (23) Making
Tires (24) Brass
Chassis (25)
Switching Scales (26) Routed
HO (27) Rails
Installed (28) Oval
Action (29)
New
1/32 Beginning (30) Construction
(31) Routing
(32) Painting
and Taping
(33) Power Taps
and Timing
(34)
Up and Running (35) Scenery
(36) More Slot
Racing (37)
Once you try it, you'll be hooked!
All Images Copyright Michael Nyberg
2009
All Rights Reserved
Visit: www.outriggercanoe.com